Publishing#
I once had the pleasure of visiting the Plantin-Moretus Museum in Antwerp, Belgium. It’s a UNESCO World Heritage site that used to be a 16th-century printing facility. Before visiting, I didn’t realize how difficult it was to publish the written word and sheet music. A punchcutter started by carving each letter on the end of a hard steel punch, often after softening it in a flame. These punches were then pounded into softer metal like copper to create an imprint. The imprint was then placed in a hand mould, where still softer metal was poured in, cooled, and then taken out. This seemingly round-about process was designed to mass-produce many exact copies of what the punchcutter had laboriously carved.
These pieces of type were organized in cases, with the case of larger letters placed on the compositor’s upper rack and the case of smaller letters placed on the lower rack (hence “upper case” and “lower case” letters). Once numerous copies of each letter in different sizes and variants were cast, they’d be painstakingly arranged by compositors and placed into a string-bound type galley, proof-read, placed in the press, inked, and pressed onto many copies of paper. Then there was the binding and transportation. Woo-eee!
Advances in printing did occur between Gutenberg and the digital age, but the advent of computers and the internet was by far the most revolutionary change the industry has experienced.
Publishing online#
The internet is an amazing, almost magical publishing venue. Anyone with a phone can type something in and it will be available instantly to people all around the world. The vastness introduces dual problems. Authors need to ensure people around the world want to and can find their material. Meanwhile, readers need to filter through an increasing amount of noise to find what they are interested in.
In the following sections, we will explore a few options for publishing online.
Sign up for a web publishing service#
Aside from posting on Facebook, the easiest and fastest way to get your words online is to sign up with a service provider who offers publishing. Wordpress is a famous example of such a service that is used to make some large fraction of the world’s web pages. Medium is another. Wix is another. These are polished services that will guide you through everything you need to get your words out there. You will be able to type your content in a nice web-based form that has all the formatting options you’re used to from a word processor. If you get a free account, they may show advertisements to people who visit your page.
Getting your own web address#
If you want the www.yourname.com domain name, you have to pay someone a modest fee
(typically around $10/year) to register the name. The Domain Name System (DNS) behind this
works much like a phonebook for the internet. I have used Namecheap to buy my
domain names for decades and have never had a complaint. Countless others exist as well.
When you go to these services (called domain registrars), they will present you with a
search form. You type in the name you are seeking and it will tell you whether it’s
available, and how much it will cost. Many names are taken, but if you do find one that’s
really catchy, they may charge you a premium. If yourname.com is not available, you
may be able to get yourname.io or even yourname.horse, among many other top-level
domains, as these suffixes are called.
Once you find a name and buy it, you configure it by pointing the name to your server, or
by telling anyone who goes to your name to forward the lookup request to some other name server.
You can generally point your own domain name to
any of the polished web services mentioned above. On Wordpress, for example, you will point your
domain’s lookup servers to ns1.wordpress.com and Wordpress will make sure to
forward people on to your page. Behind the scenes, something
like this will happen:
![digraph fig {
request [label="Customer goes\nto mysite.com"];
dns [label="DNS looks up name,\nreturns delegate\nnameserver"];
ns [label="Nameserver points\nto web server\nIP address"];
server [label="Your web server\nsends web page"];
request -> dns -> ns -> server ;
namecheap [shape=rect,label="Handled by registrar\n(e.g. Namecheap)"]
dns -> namecheap [dir=back];
{rank=same; dns;namecheap}
wordpress [shape=rect,label="Handled by host\n(e.g. Wordpress)"]
ns -> wordpress [dir=back];
{rank=same; ns;wordpress}
}](_images/graphviz-c4c447b340adb9a7b4828f8224b981e8852e24d7.png)
Behind the scenes with domain names#
Make your own web page#
If you want more control and flexibility, and are willing to learn more to get it, you can always make your own web page. Do this if you either want to make a hobby of web development, or you are interested in going professional someday in tech. You need two things:
An internet-accessible place to put your content (a web server)
The ability to make web-browsable content that displays in a web browser
Web hosting companies will allow you to put files and content management systems on their servers for a modest fee. PC Magazine ranked HostGator, Dreamhost, and Hostwinds highest in 2019. Once you have your server space, you point your domain name to it. Some people even use their home computers as servers and leave them on all the time for this, but many internet service providers frown upon this.
Now you have to put content up. You may create the content on your local computer and then upload it to the web server using a secure file transfer program such as SSH or WinSCP.
Writing a web page from scratch#
Web browsers read a markup language called HyperText Markup Language (HTML). The most rudimentary way to make a web page is to write HTML by hand in a text editor. It looks like this:
    <html>
    <head>
        <title>My neat web page</title>
    </head>
    <body bgcolor="green">
        <h1>Welcome to my web page</h1>
        <hr />
        <p>I am a business consultant and you can hire me. Please contact me at <a
        href="mailto:myemail@myserver.tld">my email address</a>.
    </body>
    </html>
You can save this to a file called bad_webpage.html and load it in your browser (by
double-clicking the file, usually). It looks like this:
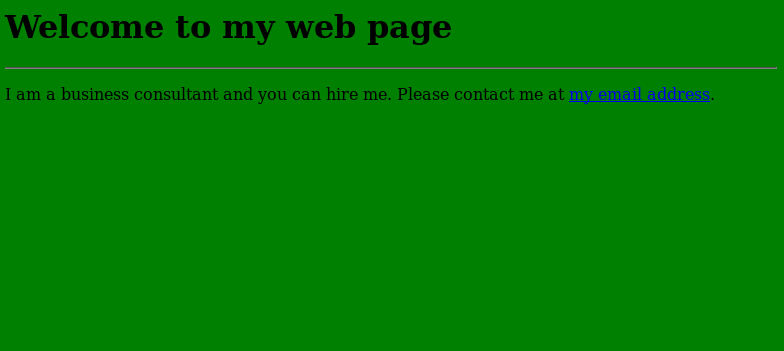
A terrible yet nostalgic web page#
Exercise
Write a similar web page in a text editor and open it up in your web browser.
If you upload this to your web server, you will have your own web page, written from scratch by you.
In reality, very few people do it this way anymore. It’s just too hard to update hundreds of pages that may get broken links. Or if you want to change the look and feel of the site, you can’t be expected to change each page individually. There is, however, value in knowing the basics of HTML because the syntax and features are often used in other tools.
Using a Content Management System#
Wordpress is an example of a content management system (CMS) that accommodates the management of web pages. Besides signing up with Wordpress.com as discussed above, you can also install the open-source Wordpress application on your own server and publish through it. Literally hundreds of other self-hosted CMSs like Joomla offer a balance between control and ease. Many web hosts provide single-click installations of a variety of CMSs so you can try a few out as a learning process, and then choose one to deploy for your next business, fan-club, or project.
Static site generators#
As CMSs got more complicated and heavier-weight, another approach emerged: the path of the static site generator. Where Wordpress requires a resource-intensive and sometimes-slow database system, static site generators target the convenience and power of a CMS without needing a central database.
These make even more sense today due to the prevalence of cloud computing platforms. If your website gets featured on a popular news aggregator, the traffic spike can bring your little server to a halt. With static sites, you can just ramp up and down how many duplicate servers you’re using willy-nilly and toss in a load-balancer that distributes readers to each server equally, and you’ll handle the traffic just fine. One excellent example of a static site generator is called Jekyll.
These systems are non-trivial to set up and get going with, but they are quite nice. We’re using Jekyll for https://whatisnuclear.com, for example.
Other Topics#
This just scratches the surface of web publishing. There’s a whole world of front-end design and development covering things like JavaScript and Cascading Style Sheets (CSS) that allow you to tweak and polish every aspect of what the web user sees. Entire back end systems make web pages interactive. You’ll read more about that in Programming.
Publishing PDFs#
Web pages aren’t for every kind of document. Reports, articles, and books are often better suited for documents that come across the internet as PDFs and look great when printed. Here we’ll learn how to efficiently build beautiful PDF documents.
This is particularly interesting to all you scientists out there. Here we’ll learn about some systems that make it easy to get journal manuscripts into the right format, with all the cross-references just right and all the citations in the right format. It’s not your job to get a bibliography formatted correctly; that’s the computer’s job.
The systems we’ll learn about also excel at generating stunning, elegant, and unique resumes.
Introduction to LaTeX#
In this section, we’ll learn about LaTeX, a publishing system infamous for having ardent
followers while being considered too annoying to deal with by most people. We’ll show what
it can do, explain why some people love it, show you some recent advances in potential
workflows, and give you enough information to make informed decisions about using it or
not.
Note
The TeX in LaTeX is related to a Greek root that means both art and
technology. It’s pronounced roughly like “teck”. The La part is pronounced “lah” or
“lay”, you get to choose which one you prefer.
LaTeX and related technologies essentially build documents from a descriptive
pure-text language, similar in concept to the raw HTML file seen in Writing a web page from scratch.
This enables some efficiencies, including:
Table, Figure, Reference, and Section numbering is totally automatic. Cross-references are updated for you, so you never have to re-number anything if you add a new table.
The format of the bibliography is auto-generated. Various publishers give out bibliography style definition files so you can seamlessly switch between them.
Text-based source can be version-controlled in detail for the ability to rewind in time and collaborate with others (see Using git).
Equations are typeset beautifully.
LaTeXis particularly popular in math journals.The layout of the document and letter spacing is handled for you.
Documents can be assembled from multiple places, so the cover page manager can define the cover page and it will automatically be used in any documents that pull it in.
Documents or reports can be automatically generated or updated by a program (more useful for updating engineering reports based on simulations than for traditional publishing).
LaTeX has notable downsides:
The syntax of
LaTeXsource has a learning curve that most people are not willing to climb given how easy well-known alternatives are (though recent advances in lightweight markup languages and document conversion withpandocare alleviating this, as you’ll soon see).It can be difficult to get a document to render exactly to your liking. Inserting images can be a pain compared to point-and-click solutions (fortunately, point-and-click
LaTeXeditors exist these days).Most people don’t know how to install
LaTeXor run it (we will solve this problem momentarily).
How to run LaTeX#
Let’s go through a basic LaTeX workflow.
OS |
Installation method |
|---|---|
Windows |
|
Linux |
|
macOS |
|
Make a text file called mypub.tex and put something along these lines in it:
\documentclass{article}

\title{On the writing of \LaTeX{} and building of a PDF}
\author{Your name here}
\date{July 2035}

\begin{document}

\maketitle
\section{Writing the source file}
\label{sec:writing}
Writing the source may look odd at first, but once you start, it's not so
bad. Also, there are WYSIWYG\footnote{What you see is what you get} editors that make
it easier.

One thing that's really nice about \LaTeX{} is math. Here is an equation:

\begin{displaymath}
    R = \sum_{g=0}^{G-1} N_i \phi_g \sigma_g
\end{displaymath}

\section{Another section}
As you saw in Section~\ref{sec:writing}, you can make equations\cite{brown2018endf}.

\bibliography{myrefs}
\bibliographystyle{ieeetr}

\end{document}
Also, make a separate text file for the references called myrefs.bib. This file can be
built with a reference manager (like Zotero with the Better
BibTeX plugin or JabRef) but for starters let’s fill it manually. You can find
citations in the proper format through Google Scholar. Find the reference you want,
click the little " icon, and then click the BibTeX link at the bottom. It will
present you with text that you can copy and paste directly into myrefs.bib. Choose
your own journal citation to use, or if you want to type one in yourself, it looks like
this:
@article{brown2018endf,
  title={ENDF/B-VIII. 0: The 8 th Major Release of the Nuclear Reaction Data Library with CIELO-project Cross Sections, New Standards and Thermal Scattering Data},
  author={Brown, David A and Chadwick, MB and Capote, R and Kahler, AC and Trkov, A and Herman, MW and Sonzogni, AA and Danon, Y and Carlson, AD and Dunn, M and others},
  journal={Nuclear Data Sheets},
  volume={148},
  pages={1--142},
  year={2018},
  publisher={Elsevier}
}
Note how that article name (brown2018endf) is the thing we referred to in the citation
in section 2 of our source file.
Let’s build the document. From the command line in the folder where we made our two files, run:
latexmk -pdf mypub
Now you should see mypub.pdf in that directory, which looks like this:
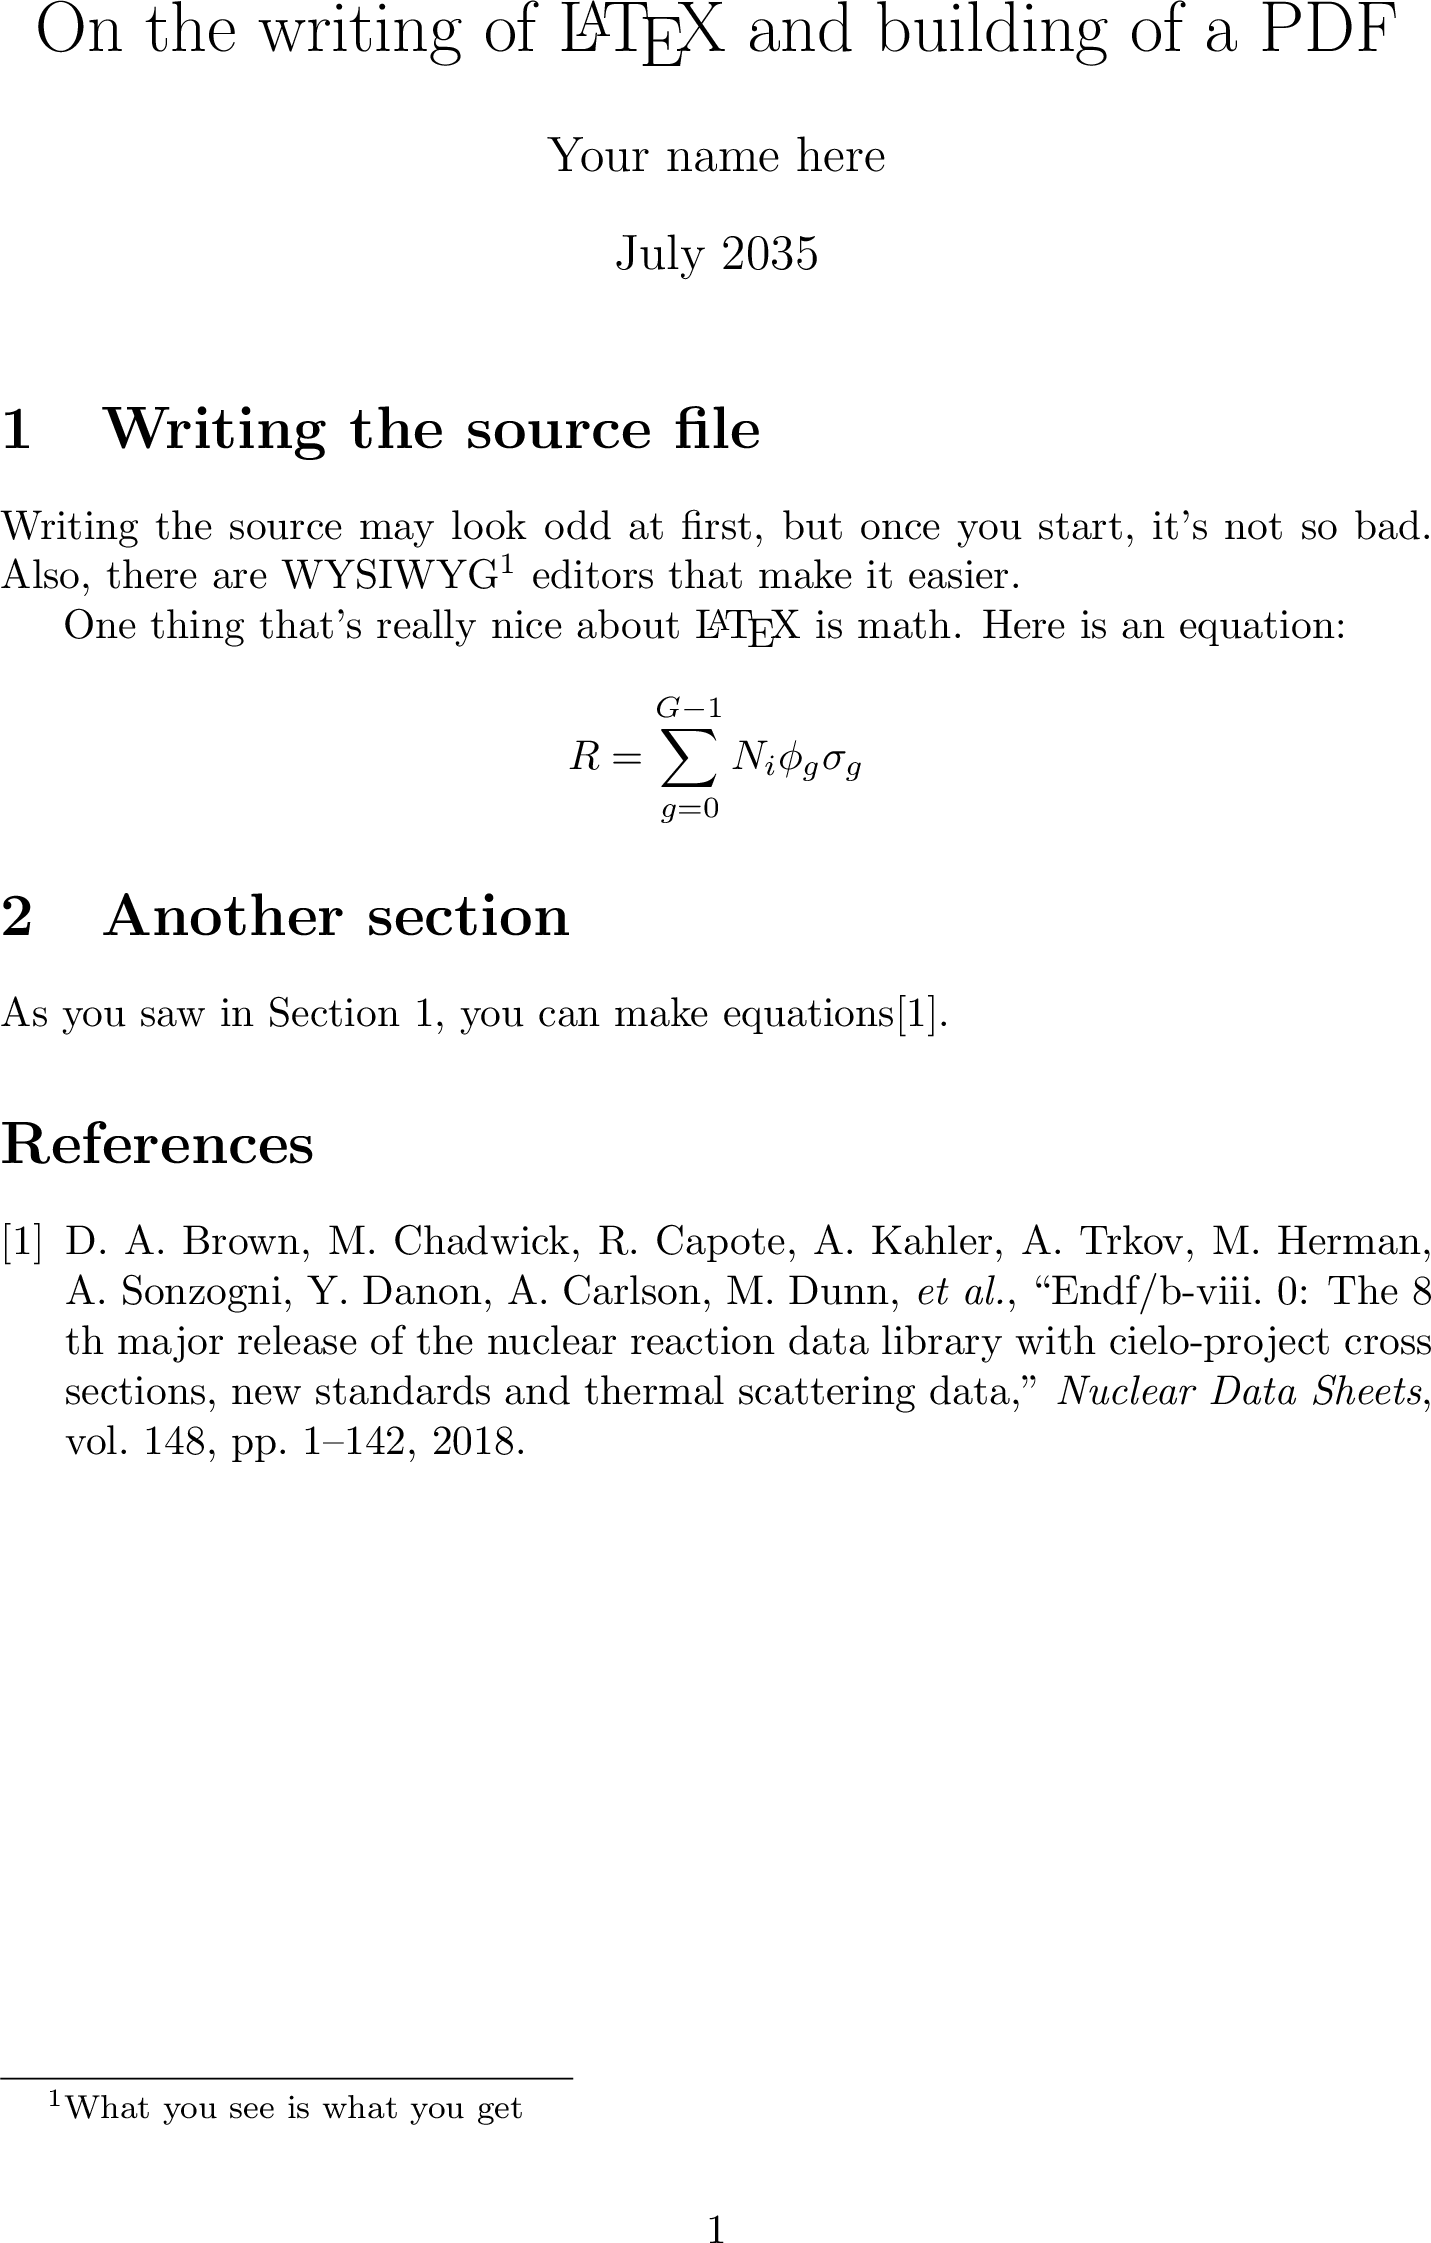
A beautifully-rendered document with automatic references and citations.#
Official LaTeX templates#
Most major journal publishers give out LaTeX style files to authors. These put the
formatting completely in their control; you just write your content. For example, Science
Magazine offers their template here. Universities also typically have
these for dissertations.
Using LaTeX from a GUI#
Modern GUIs for editing LaTeX files are quite good. They let you leverage most of
the ease of a word processor with the added power of LaTeX. They’ll automatically insert
section labels and offer dialogs to help you build tables, insert figures, provide
spell-checking, give integrated PDF previews, and so on. TeXstudio is the most popular
GUI TeX editor. It is available in your package manager if you’d like to try it out.
OS |
Installation method |
|---|---|
Windows |
|
Linux |
|
macOS |
|
Another option is to use LyX, which actually keeps the TeX code
behind the scenes for the most part. It is the closest thing to a word processor that uses
LaTeX. I wrote my dissertation with LyX.
For web-based collaboration, ShareLaTeX is the cutting edge.
See also: Wikipedia’s comparison of TeX editors.
Easier workflows with lightweight markup languages#
Even though it’s very powerful, I cannot deny that writing in pure LaTeX can be tedious. Nor is
it overly versatile; it directly produces PDF documents but not web pages or other commonly-desired
formats from a single source. The concept of lightweight markup languages (LMLs), also known as
humane markup languages, can help get the powers of LaTeX without as
much pain.
Two popular LMLs are Markdown and reStructuredText (RST). Markdown is particularly simple, while RST is slightly more complicated (but also significantly more featureful). It’s becoming more common for people to write technical documentation, reports, web pages (often for static site generators), and even books in LMLs.
RST is usually associated with a tool called Sphinx which was originally created to help
write documentation for the Python programming language. It includes facilities for
cross-references, indices, code snippets, glossaries, and citations, plus it can output to
HTML, LaTeX, ePub, and more. As it turns out, this system is useful for more than just
technical documentation and finds wide usage in other things. Indeed, this book itself
was written in RST and processed through Sphinx to ePub, PDF, and HTML
formats!
Pandoc is an outstanding tool that simply converts various document formats between one and the
other. It’s a good way to go from an LML to HTML for the web, LaTeX for print or PDFs, ePub for
e-books, or even MS Word (and vice versa). You can try making a diary in Markdown and render it to a
beautiful PDF with pandoc on demand. It does an incredible job and continues to just
surprise me by working so well. Let’s convert that LaTeX sample from above to a Word
docx file.
OS |
Installation method |
|---|---|
Windows |
|
Linux |
|
macOS |
|
Then run the following in the command line (in the same folder as mypub.tex from
above):
pandoc -s mypub.tex -t docx -o mypub.docx
The options are -s for source, -t for to, and -o for output file name.
Open this up in Word or LibreOffice and voila! Baffling, isn’t it?
Best of all, these kinds of workflows can be revision-controlled and collaborated upon using
git, which you’ll read about soon.
It must be stated that Microsoft Word has improved mightily through the years in terms of section numbering, cross-referencing, and citations. It integrates with many powerful reference management tools like EndNote and really isn’t all that bad. For the data-centric world of the near future, where information presentation must come from diverse sources and come together elegantly and collaboratively, the tools we’ve discussed here unlock many superpowers.
Publishing eBooks (and books)#
The advances in publishing since the days of punchcutting have brought us to a situation where it’s quite straightforward to publish an entire book digitally and in paperback. Even a few years ago, it could require significant investments to publish a book, whereas now digital delivery costs nearly nothing and print-on-demand services will print only as many books as are ordered. You still have to invest in writing, obviously, and possibly cover design, advertising, editing, and so on.
Self-publishing a book rather than getting a publishing company to do it is an exciting venture. You get to maintain full creative and financial control, but you’re on the hook for making sure everything is good, and for advertising/promoting the book. If nothing else, it’s fairly low-risk if you don’t invest too much on artists, editors, advertisements, or your book tour. The exciting point is that, with a computer in hand, you have everything you need to self-publish your first book.
E-readers use a variety of formats, many of which are locked down with special encryption called
Digital Rights Management (DRM) that prevents people from copying books left and right. Before getting
converted to a locked-down file, manuscripts often pass through the ePub format, which is
similar to HTML and has the benefit over the PDF format of being reflowable (so it works with
different font and screen sizes).
Many authors write manuscripts for eBooks in a word processor and use services to convert them into
the ePub and/or the DRM-friendly formats. For example, Kindle Direct Publishing offers tools that can convert .docx files from MS Word into the
format necessary for publishing Kindle eBooks and printed-on-demand paperbacks. They’ve automated
much of the work, and provide great tutorials and videos to walk people through all steps. They even
have a Cover Creator tool, but I bet you can do a great job on your own with Inkscape for your first
book. If you plan to sell a lot of copies, engaging a professional cover artist will run between
$300-$1200. Besides KDP, Lulu.com offers similar services in case you’d like to
shop around.
Barring those services, the LaTeX system discussed previously is perfectly capable of
creating ready-for-print physical books, but it won’t be very useful for getting something
onto an e-reader (PDFs generally look bad on e-readers specifically because they are not
reflowable). Perhaps surprisingly, the Sphinx system and the ReStructuredText LML are a
fairly powerful combination for self-publishing. It’s advanced enough to let you add
metadata that will generate the entire book including an index, a table of contents,
cross-references, footnotes, images, hyperlinks, and a glossary in ePub (for
e-readers), PDF (for print), and HTML (for the web). Once you have an ePub
file, Amazon provides something called KindleGen on Windows, macOS, and Linux that
will convert it to a mobi format appropriate for uploading to Amazon/KDP.
For example, to have an index point to the proper page numbers for some keywords, you simply list them before the paragraph that they appear in, like this:
.. index::
    single: Horses

The joy of horses
-----------------
Horses are fine and majestic animals.
They have four legs and love oats.
Very rich indices can be generated by populating a manuscript with this kind of metadata.
Getting the formatting exactly right is non-trivial. Neither is grammar checking (though check out
LanguageTool). Thus, I do not recommend this approach to anyone who is not keenly interested
in “going it alone” and having full control with an open-source stack. It’s certainly possible.
This concludes the chapter on publishing. You’ve learned many new and interesting ways to get the written word out to the public. I hope the opportunity arises for you to exercise these tools.
Footnotes